Setup Firebase Configuration
Follow the below steps to add your flutter app to firebase: We are going to add our flutter app to firebase using Firebase CLI but Firebase CLI needs node js to work on the operating system.
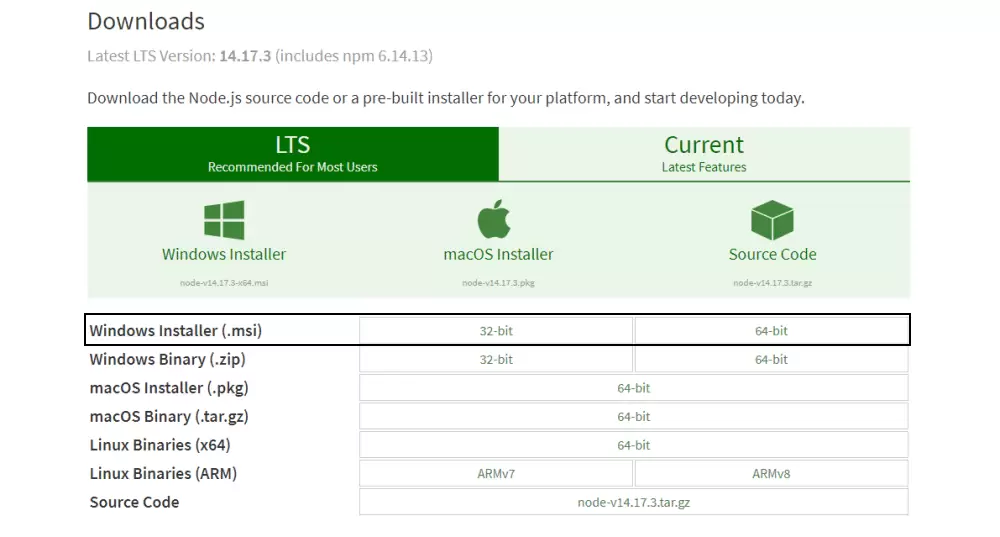
- First, you need to download the Windows Installer (.msi) file from the official Node.js website. This MSI installer database carries a collection of installer files essential to install, update, or modify the existing Node.js version.
- Notably, the installer also carries the Node.js package manager (npm) file from the official Node.js website. This MSI installer database carries a collection of installer files essential to install, update, or modify the existing Node.js version.
- When downloading, select the correct version as per your operating system. For example, if you’re using a 64-bit operating system, download the 64-bit version, and if you’re using the 32-bit version, download the 32-bit version:
- Once you open and run the .msi file, the installation process begins. But you have to set a few parameters before running the installation process.
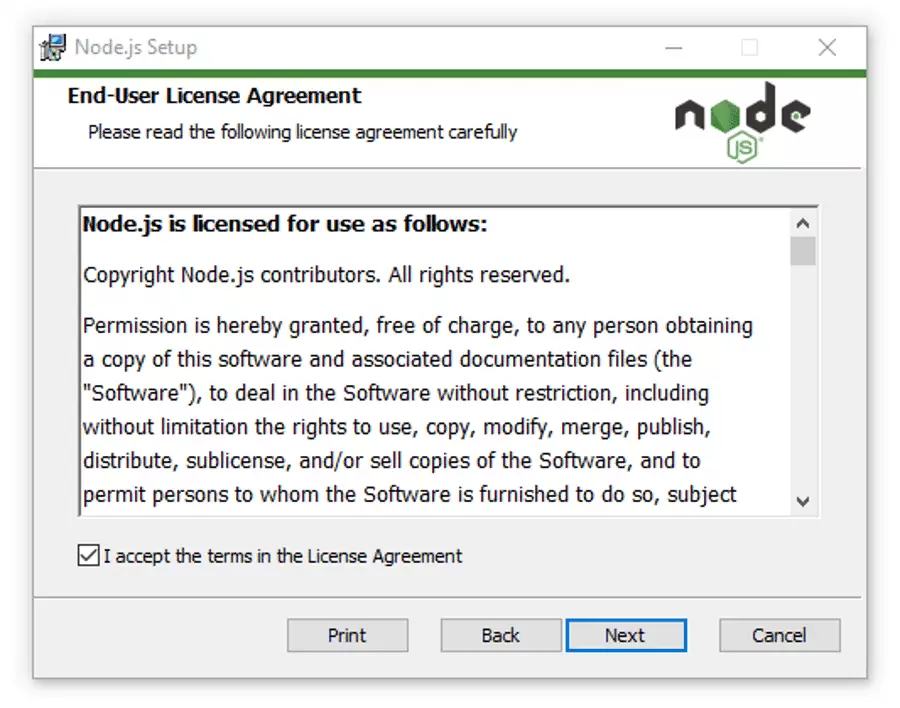
- Double-click on the installer file and run it. The installer will ask you to accept the Node.js license agreement. To move forward, check the “I accept” box and click Next:
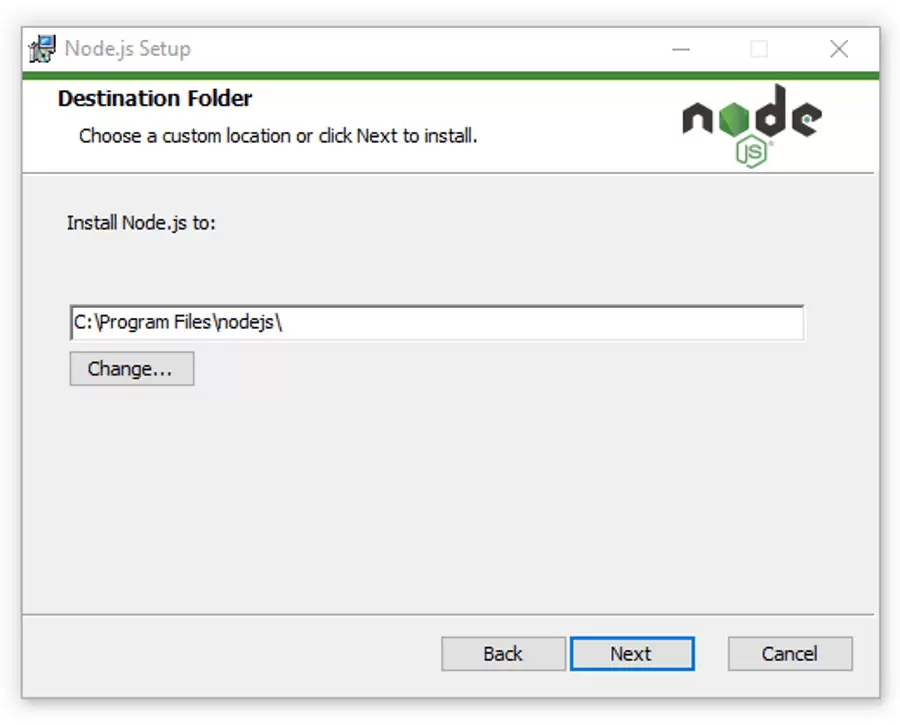
- Then, select the destination where you want to install Node.js. If you don’t want to change the directory go with the Windows default location and click the Next button again.
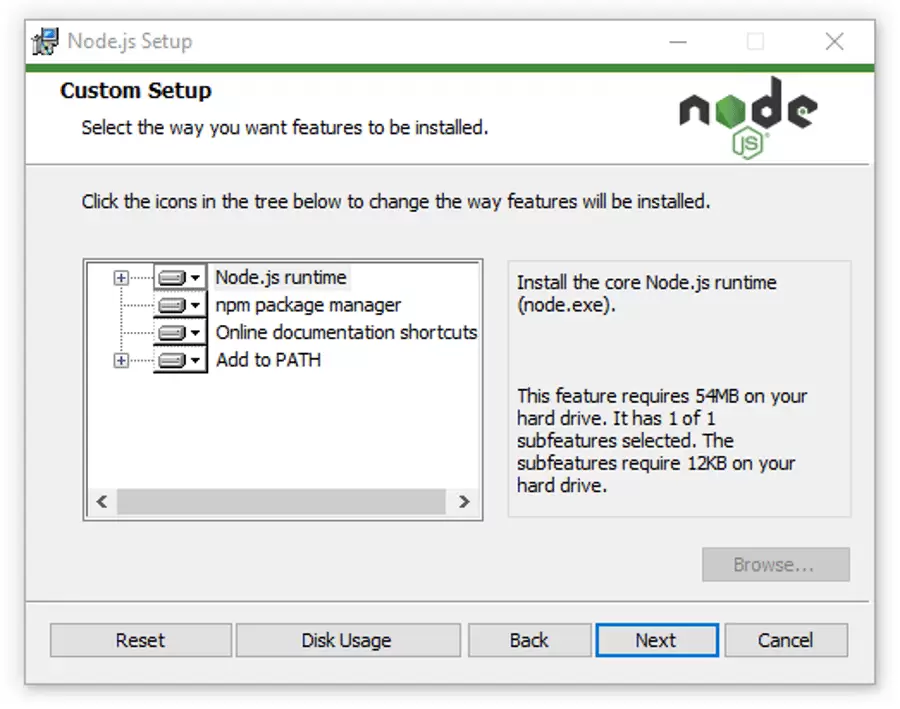
- The next screen will show you custom setup options. If you want a standard installation with the Node.js default features, click the Next button. Otherwise, you can select your specific elements from the icons in the tree before clicking Next:
- Node.js offers you options to install tools for native modules. If you’re interested in these, click the checkbox to mark your preferences, or click Next to move forward with the default:

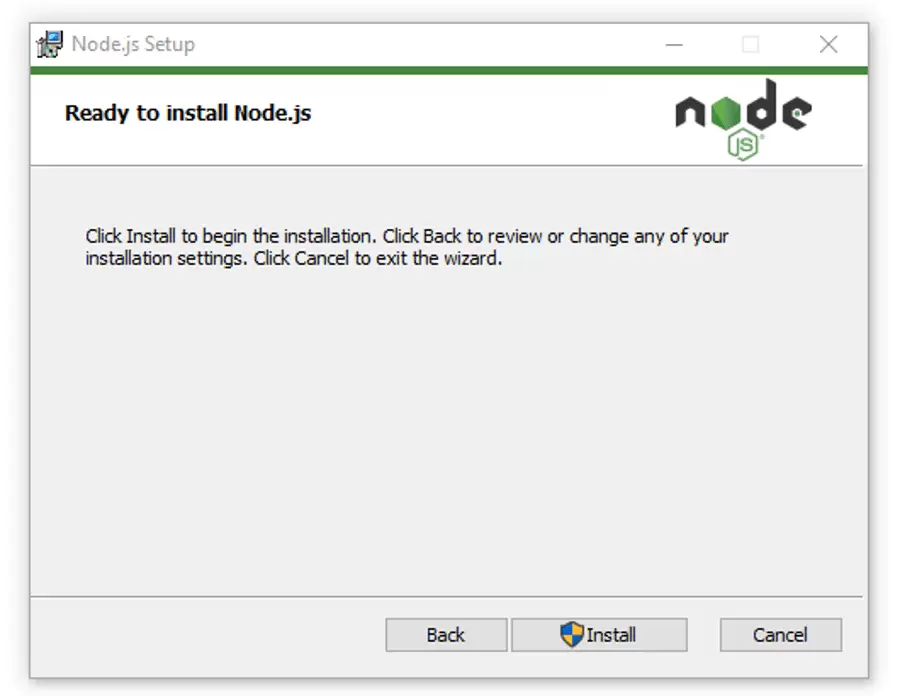
- Lastly — and this is the easiest part of all — click the Install button to begin the installation process:
- The system will complete the installation within a few seconds or minutes and show you a success message. Click on the Finish button to close the Node.js installer.

- So the installation process is completed. Now, you have to check whether Node.js is successfully installed or not.
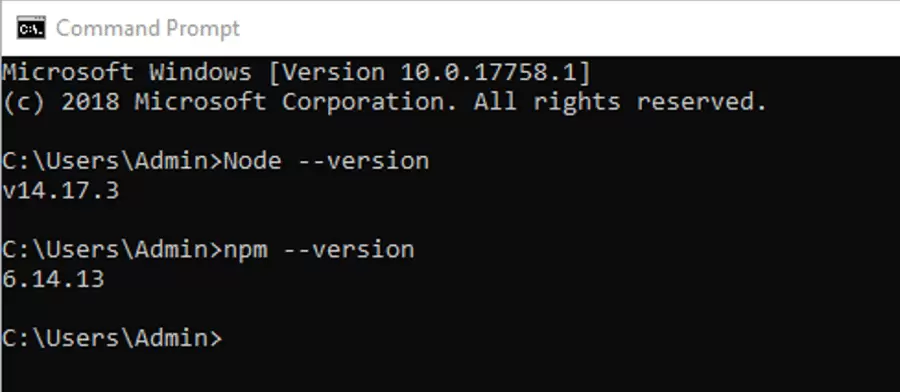
- To verify the installation and confirm whether the correct version was installed and enter the following command:
- Run Commands: Execute the following commands in your terminal:
- And to check the npm version run this command:
Node --version
npm --version
Installing FlutterFire CLI
You need to install the Firebase CLI because the FlutterFire CLI depends on it. Run the command below in the command line to install the Firebase CLI tool on your computer.
npm install -g firebase-tools
To run this command, you need to have Node.js installed on your computer
Firebase Configuration
Configuration Step:
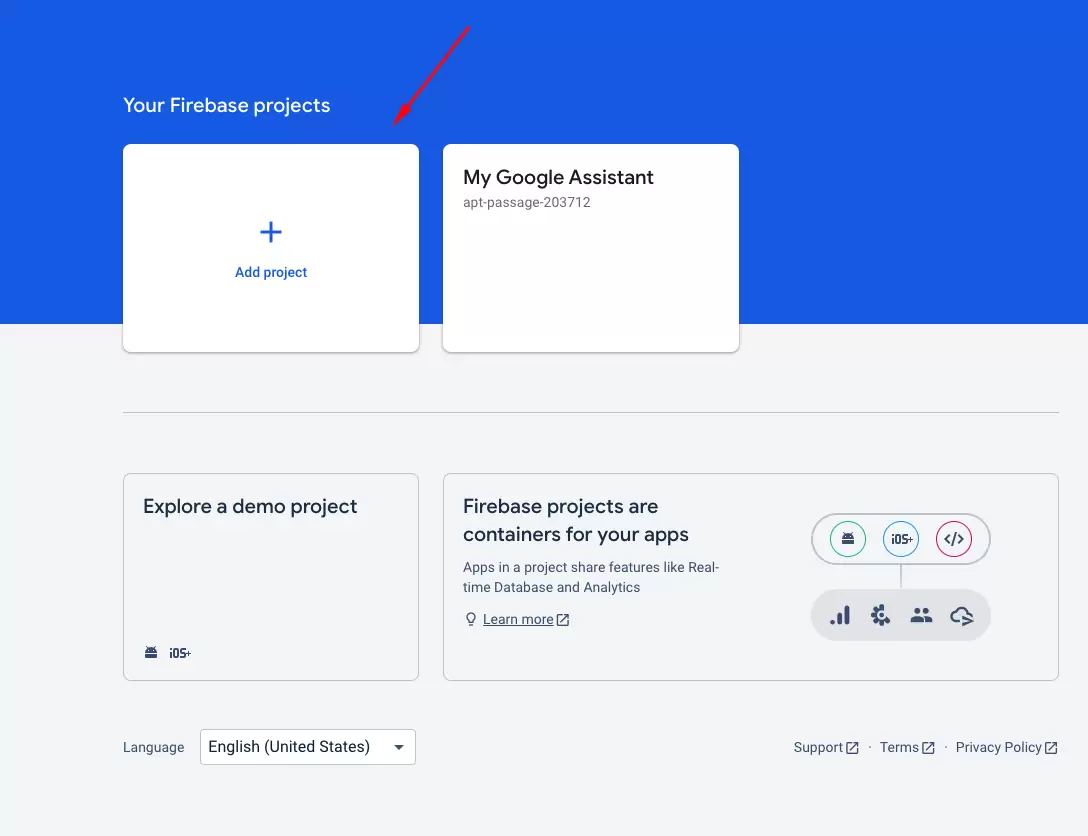
- Go to Firebase Console. and login with your Gmail account.
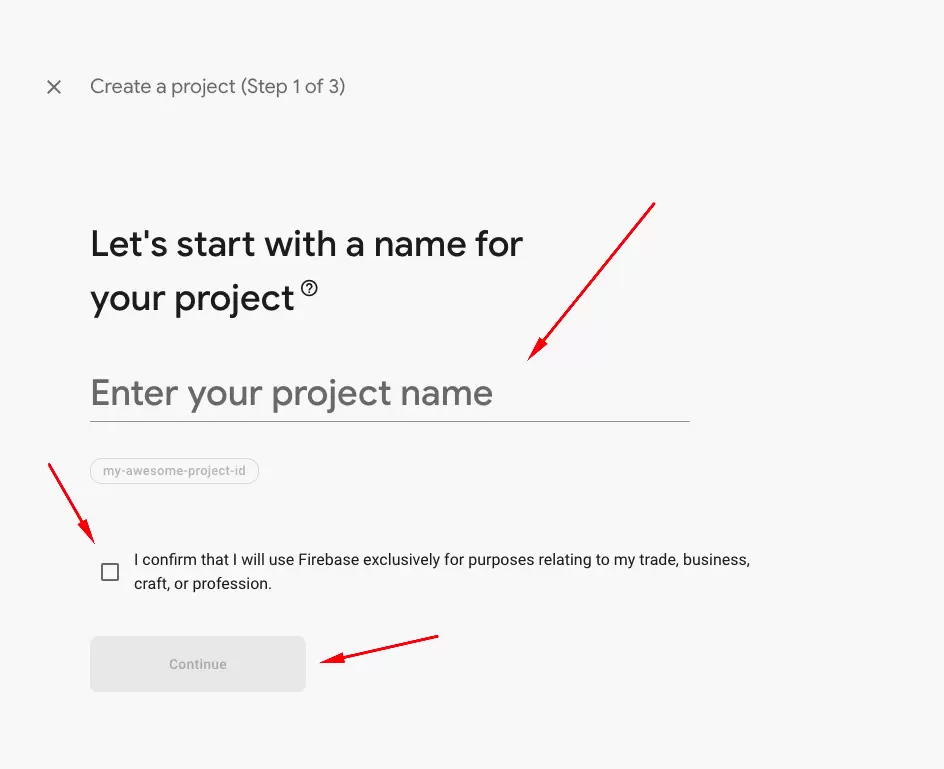
- Create a project using the screenshot bellow On the welcome screen, click the Create a project button. A new modal will appear. Insert your project name, read & accept firebase terms and click Continue.
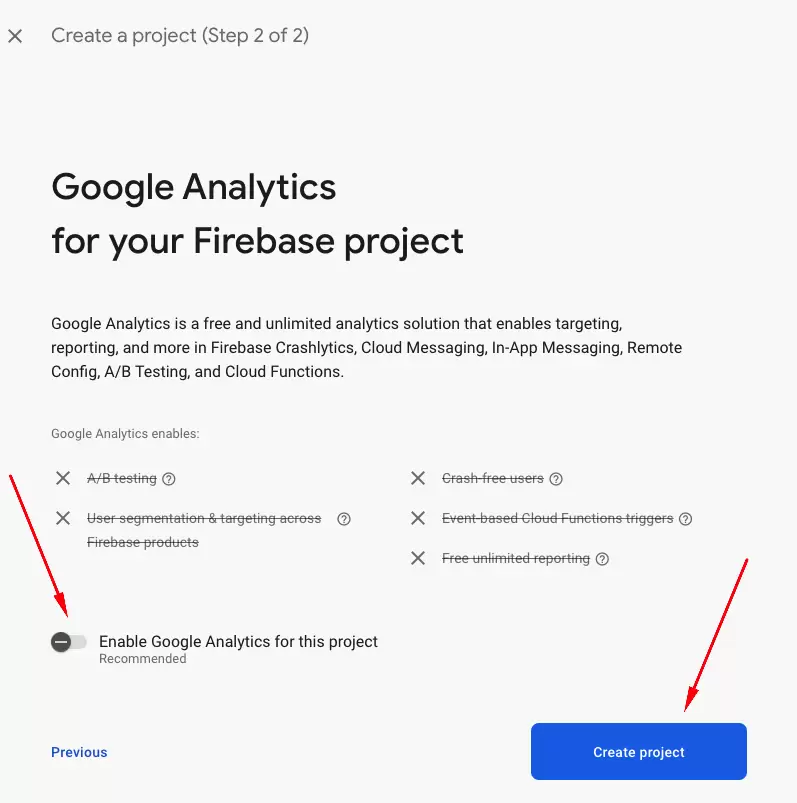
- In the next step, you’ll be asked if you want to set up Google Analytics. You can skip this part just uncheck the option and Click Continue.
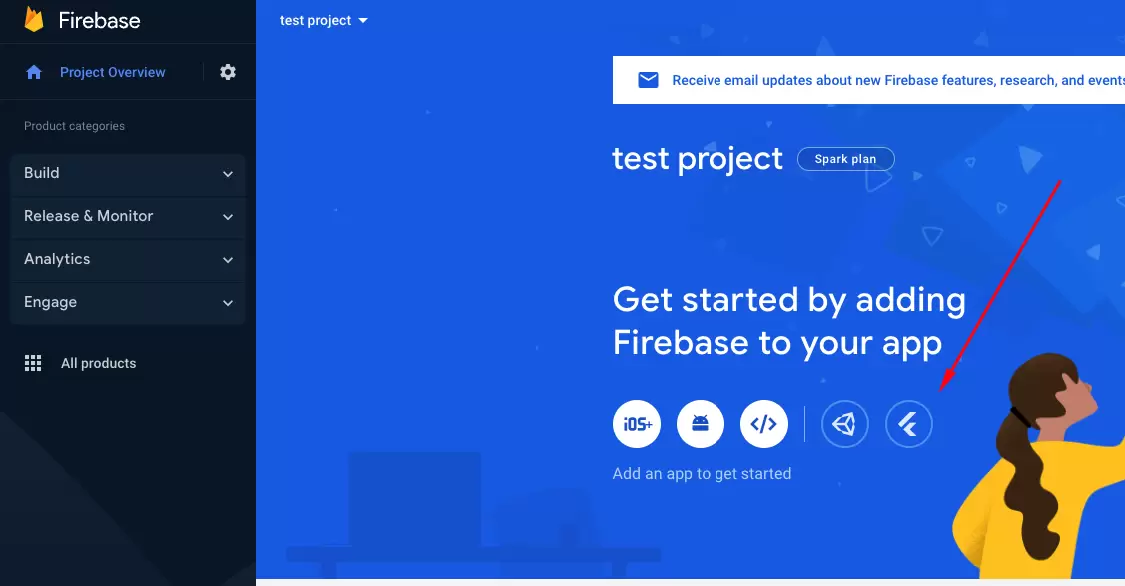
- Add your flutter project to your firebase Follow the steps below:
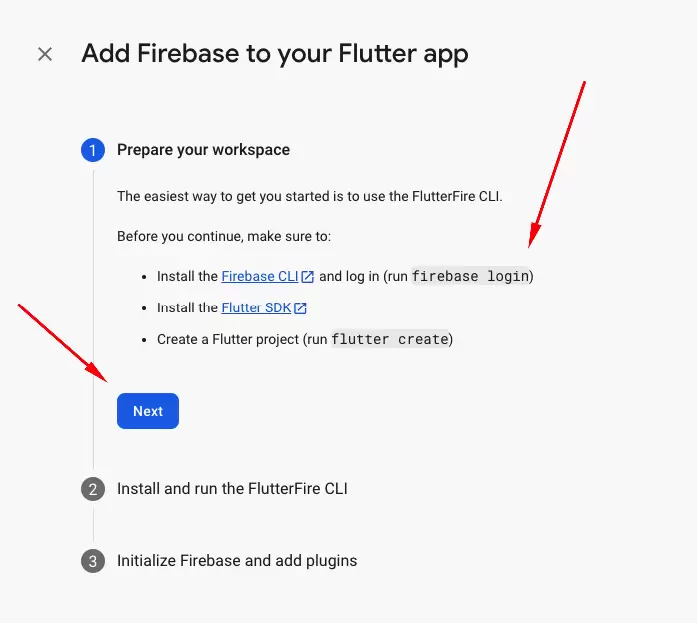
- Then log in to Firebase using Firebase CLI the steps below: Run:
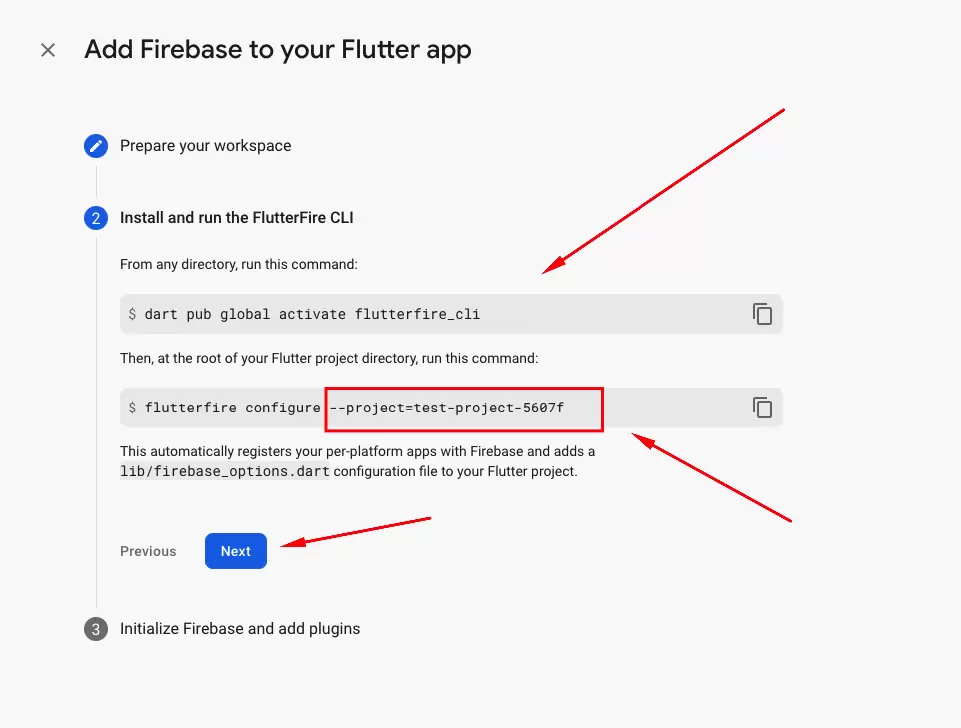
- From any directory, run:
- Then, at the root of your Flutter project directory, Run:
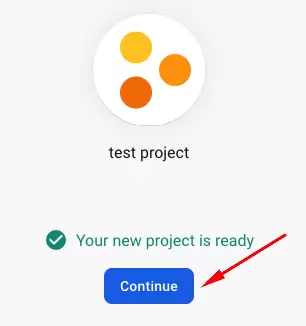
Upon successful creation, click Continue. You get redirected to your project’s console dashboard
firebase login dart pub global activate flutterfire_cli flutterfire configure --project=test-project-5607f Make sure you have selected the right project name.
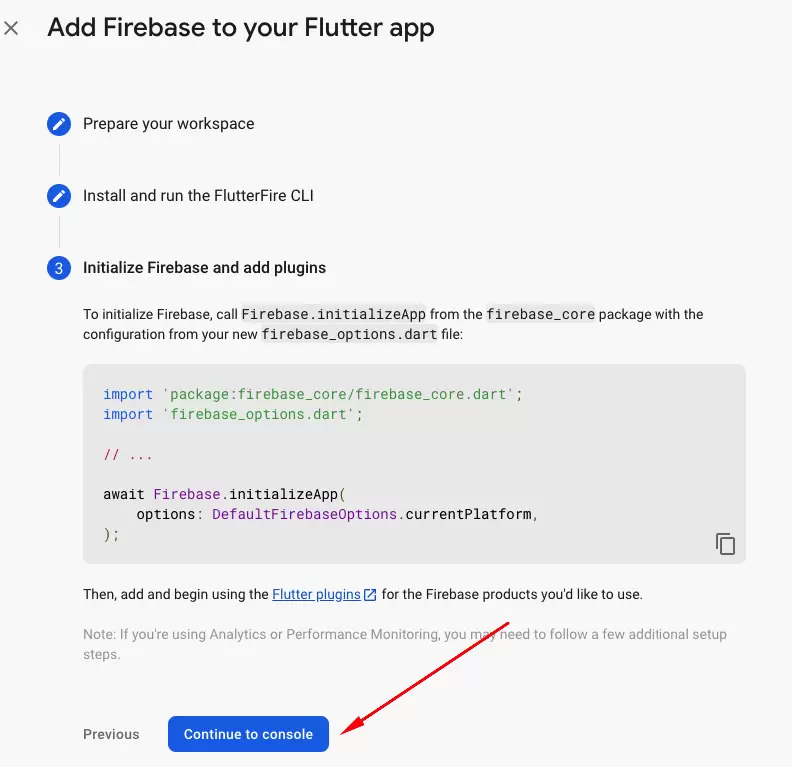
The next step is to select the platforms FlutterFire should configure for. (Use the arrow keys to make your selections and the space key to select or deselect platforms.) if there is any configuration is already exists press y to accept. After the configuration is completed successfully, a firebase_options.dart file is generated along with some .json files. The output should look similar to the image below.

You can also check your Firebase console to confirm that the project was created and configurations were done for all the platforms you specified.